How to Capture the Northern Lights like a Pro - Photographing the Aurora Borealis in Iceland
If you are reading this, then you are probably like me – I have taken some great shots, but nervous about getting decent shots of the Northern Lights. After much googling and driving my photographer friends crazy with endless questions, I am happy with my results.
What you will need
Digital Camera: I shot with a Sony a5000 and my travel buddy used a Canon Rebel T3i. Both are older models, but you don’t have to have professional-grade equipment for good results.
I love my Sony a5000 (latest model Sony a6300). It’s compact, has interchangeable lenses, can sync with your smartphone, and has some built-in tools to help you take shots in low light. Unfortunately, you will have to brave Manual mode to get the Aurora. I’ll get to that in a minute.
Tripod: For me, size matters; the smaller the better (for tripods). I have a Zeikos travel tripod, but it never makes it into my carryon – too big! I always travel with my Joby GorillaPod.
Professionals will say you need a good sturdy metal tripod that can withstand winds fully extended. Weigh it down further with your pack to get tack-sharp pictures. My take on it – they are expensive, heavy, and would force me to check a bag. My GorillaPod looks crazy and you have to find a surface to put it on. But that thing can be wrapped around railings or perched on an uneven surface. If it was super windy, my plan was to wrap it around the side-view mirror on the car for stability (winds in Iceland can knock a person over).
Extras:
Remote camera shutter release – they are cheap. Or, you can always use the timer setting on your camera. At night, even the slightest movement when you click the button could create blur.
Gloves with thumb and index finger openings – I had to keep taking my glove fully off to click the button and adjust settings. I thought my hands would never fully warm back up. HotHands are a good idea, too!
Headlamp (or flashlight) – I prefer headlamps to be hands-free while you make camera adjustments.
Setting up a shot in the parking lot at Þingvellir National Park under the dancing Aurora. Sony a5000. f4/ISO 800/4"
Camera Settings
Set your camera to Manual. Use a wide-angle lens (we used the kit lenses that came with our cameras).
Camera settings on a Canon set to Manual mode. Shutter at 3.2 seconds, F-stop at f5.6 (lowest it would go), ISO 800 with remote control on. No remote? Set it to timer to decrease chances of blur in your picture by clicking the button.
ISO: 800 up to 3200. Start at 800 and work your way to 3200 if you think your pictures are too dark.
F-stop: around f4 depending on what your lens can do. The lowest our Canon could go was f5.6 and was fine. My Sony was at f4. F3.2 or f2.5 is fine, too, if your lens can do it.
Shutter Speed: 3”2 up to 30” (seconds). Depending on how bright and how fast the Aurora are dancing will dictate how long (if they are moving fast, you might end up with a green blob at a longer shutter time). Start short and work your way up to longer times if needed.
Manual Focus (usually a switch on the lens or in the menu of the Sony).
Stability Off (usually a switch on the lens or Steady Shot setting in the menu of a Sony).
Tip! Manual focus in night photography is tricky because it’s, well, dark! Set your camera to autofocus and let it focus on a light off in the distance. Could be car’s headlights or you could beg your friend to walk about 100 yards out with a flashlight. Once focused, switch it to manual and don’t touch it. If you can’t do that (or your friend is not keen on the idea), take a picture, then zoom in on a star. If it has a bluish halo or looks fuzzy, make a slight adjustment and try again until you are happy.
Getting the Shot
Check the Aurora forecast! If it’s cloudy, you won’t see anything. I’ve heard that even if it’s clear, but the forecast is low – it’s still worth going on the hunt. I’ve also heard that a rating 5 or above is considered very likely to see them, but they may be elusive still. Plan your trip around the full moon. A full moon might obscure the lights.
Pre-set your camera before you head out. You will not want to be fidgeting with your camera in the cold and dark.
Get away from lights. You are leaving your shutter open for a long time - artificial light will show up in your shot even brighter than it looks to your naked eye.
Include part of the landscape in your shot. It might only be silhouette of mountains or trees against the night sky, but it provides scale so you know what you are looking at when you show off your pics. We kept our ISOs low because our foreground wasn’t terribly interesting; a pile of snow covered rocks and barbed wire. If you like your foreground (snow-covered trees, cabins, a lake), up your ISO so it will show up brighter.
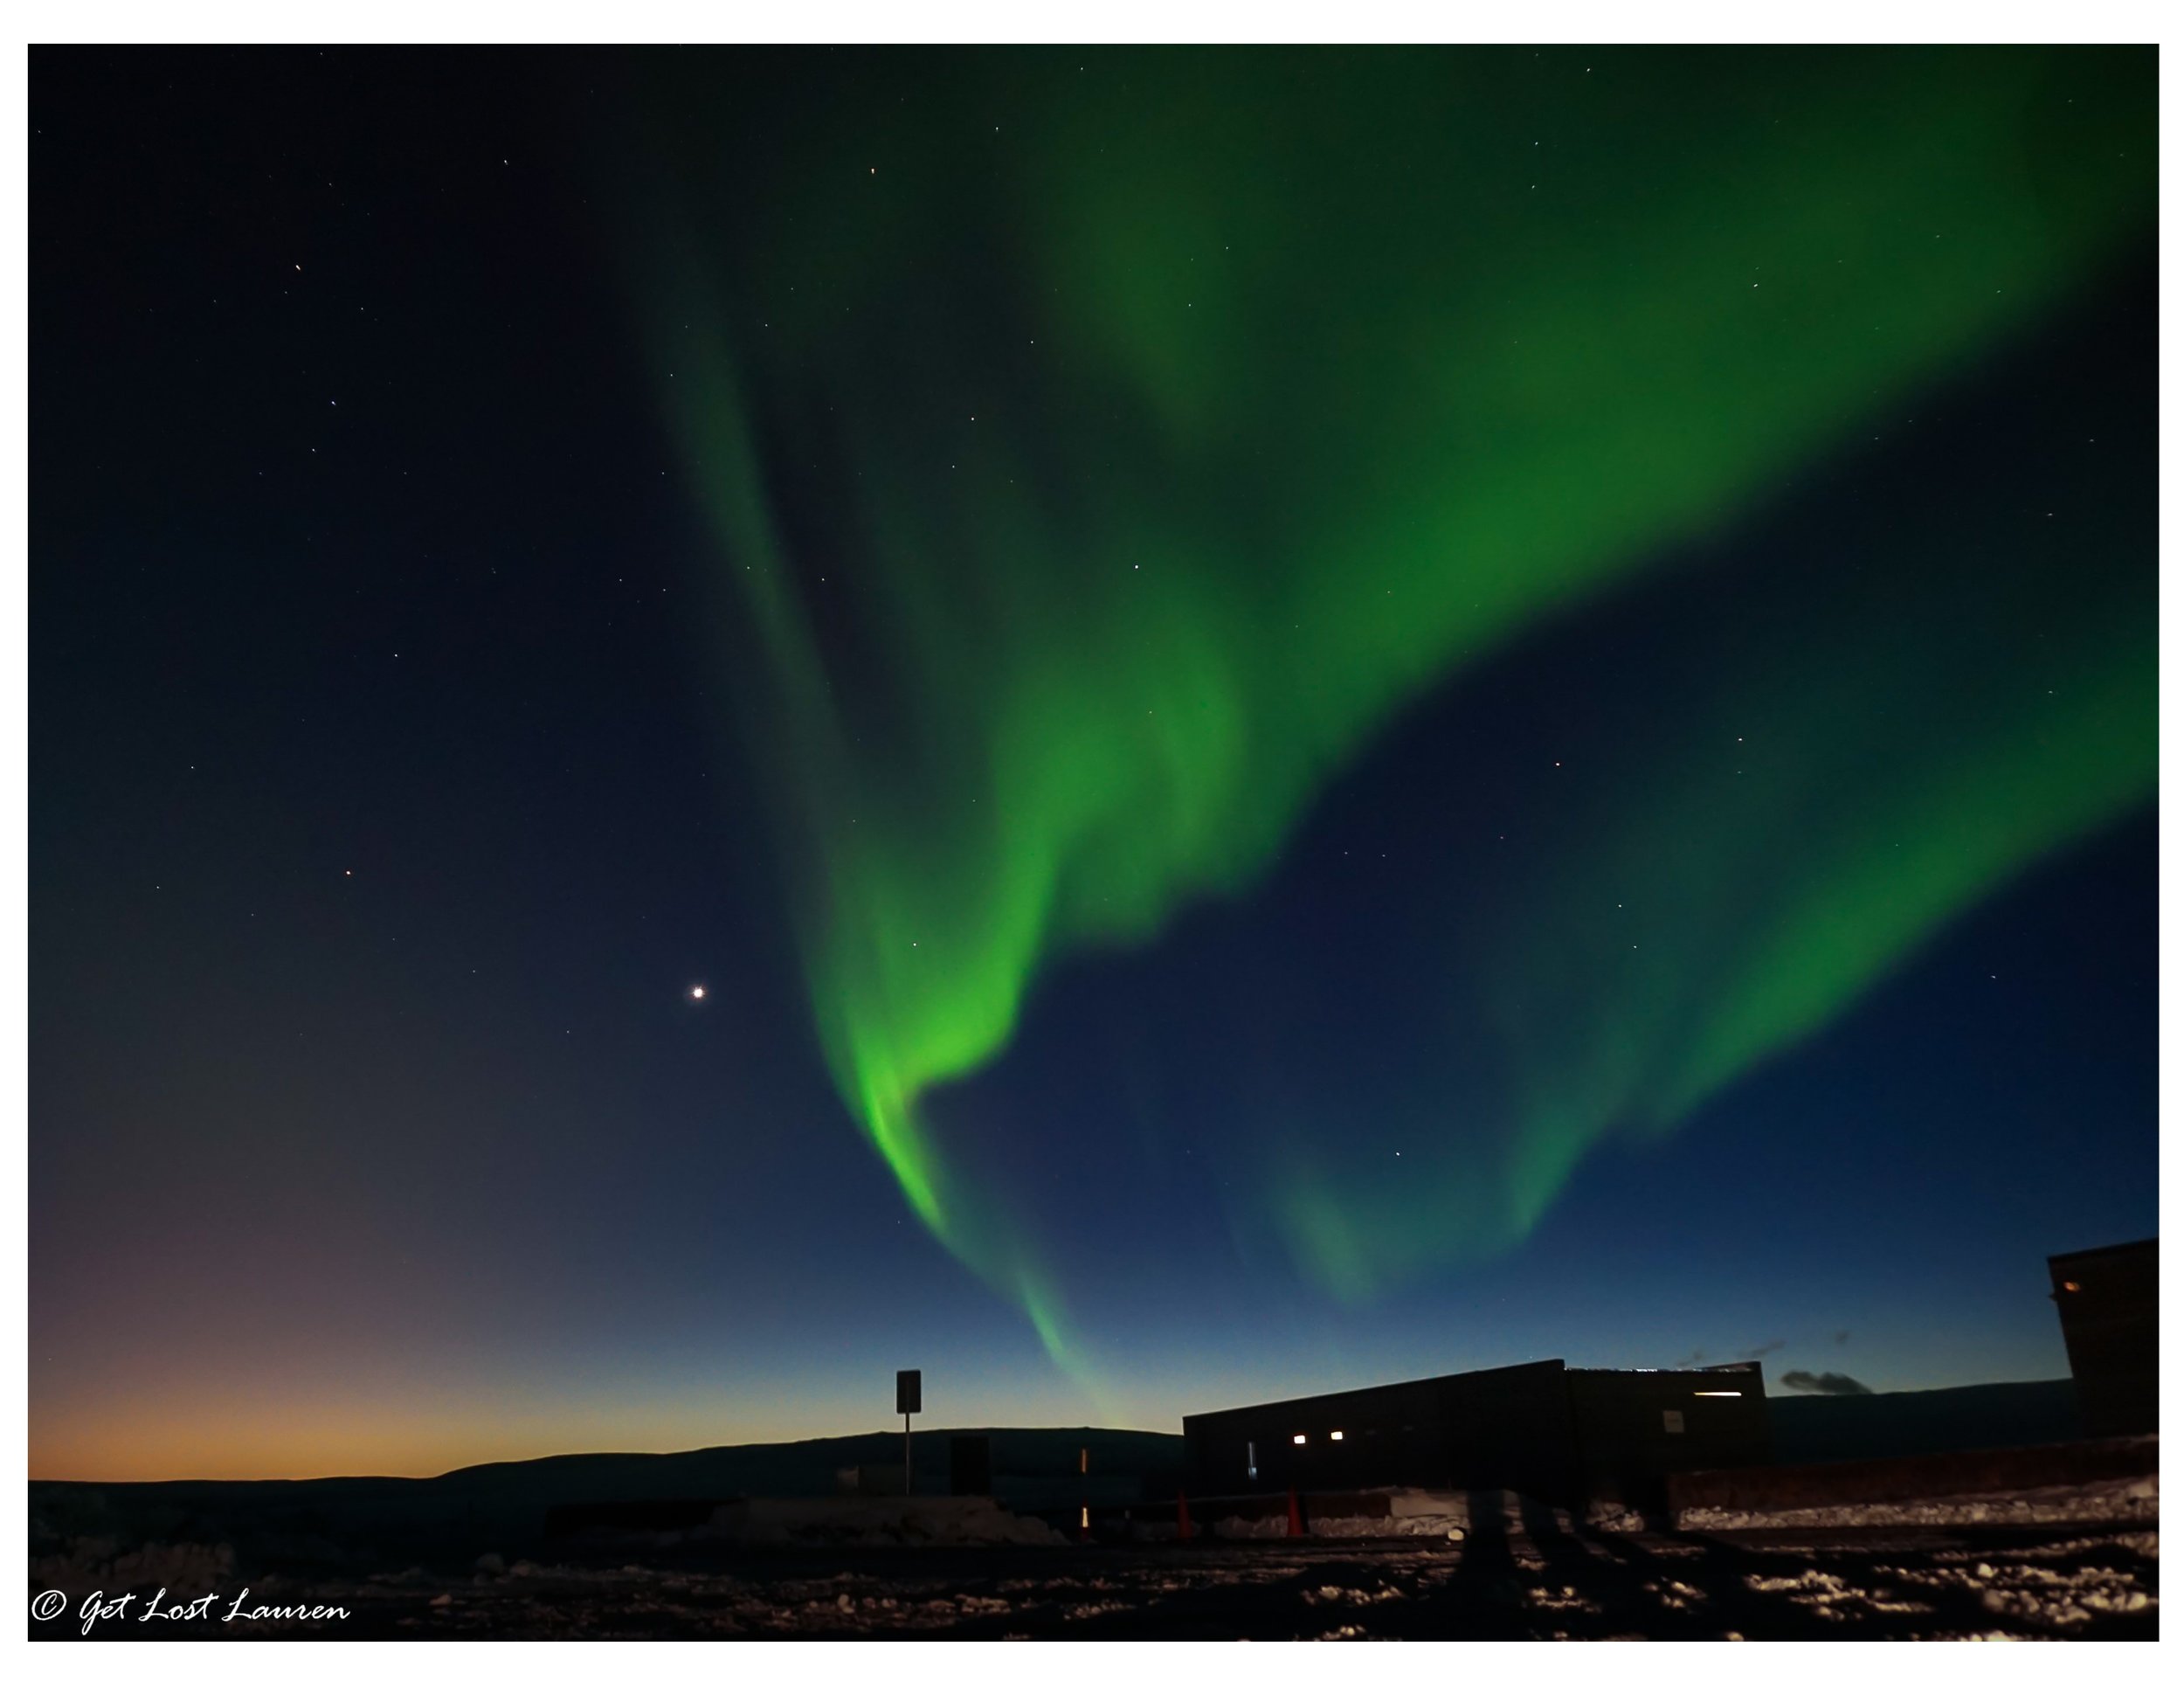
Include some of the landscape in your frame to give scale to your shot. Sony a5000. f4/ISO 800/4"
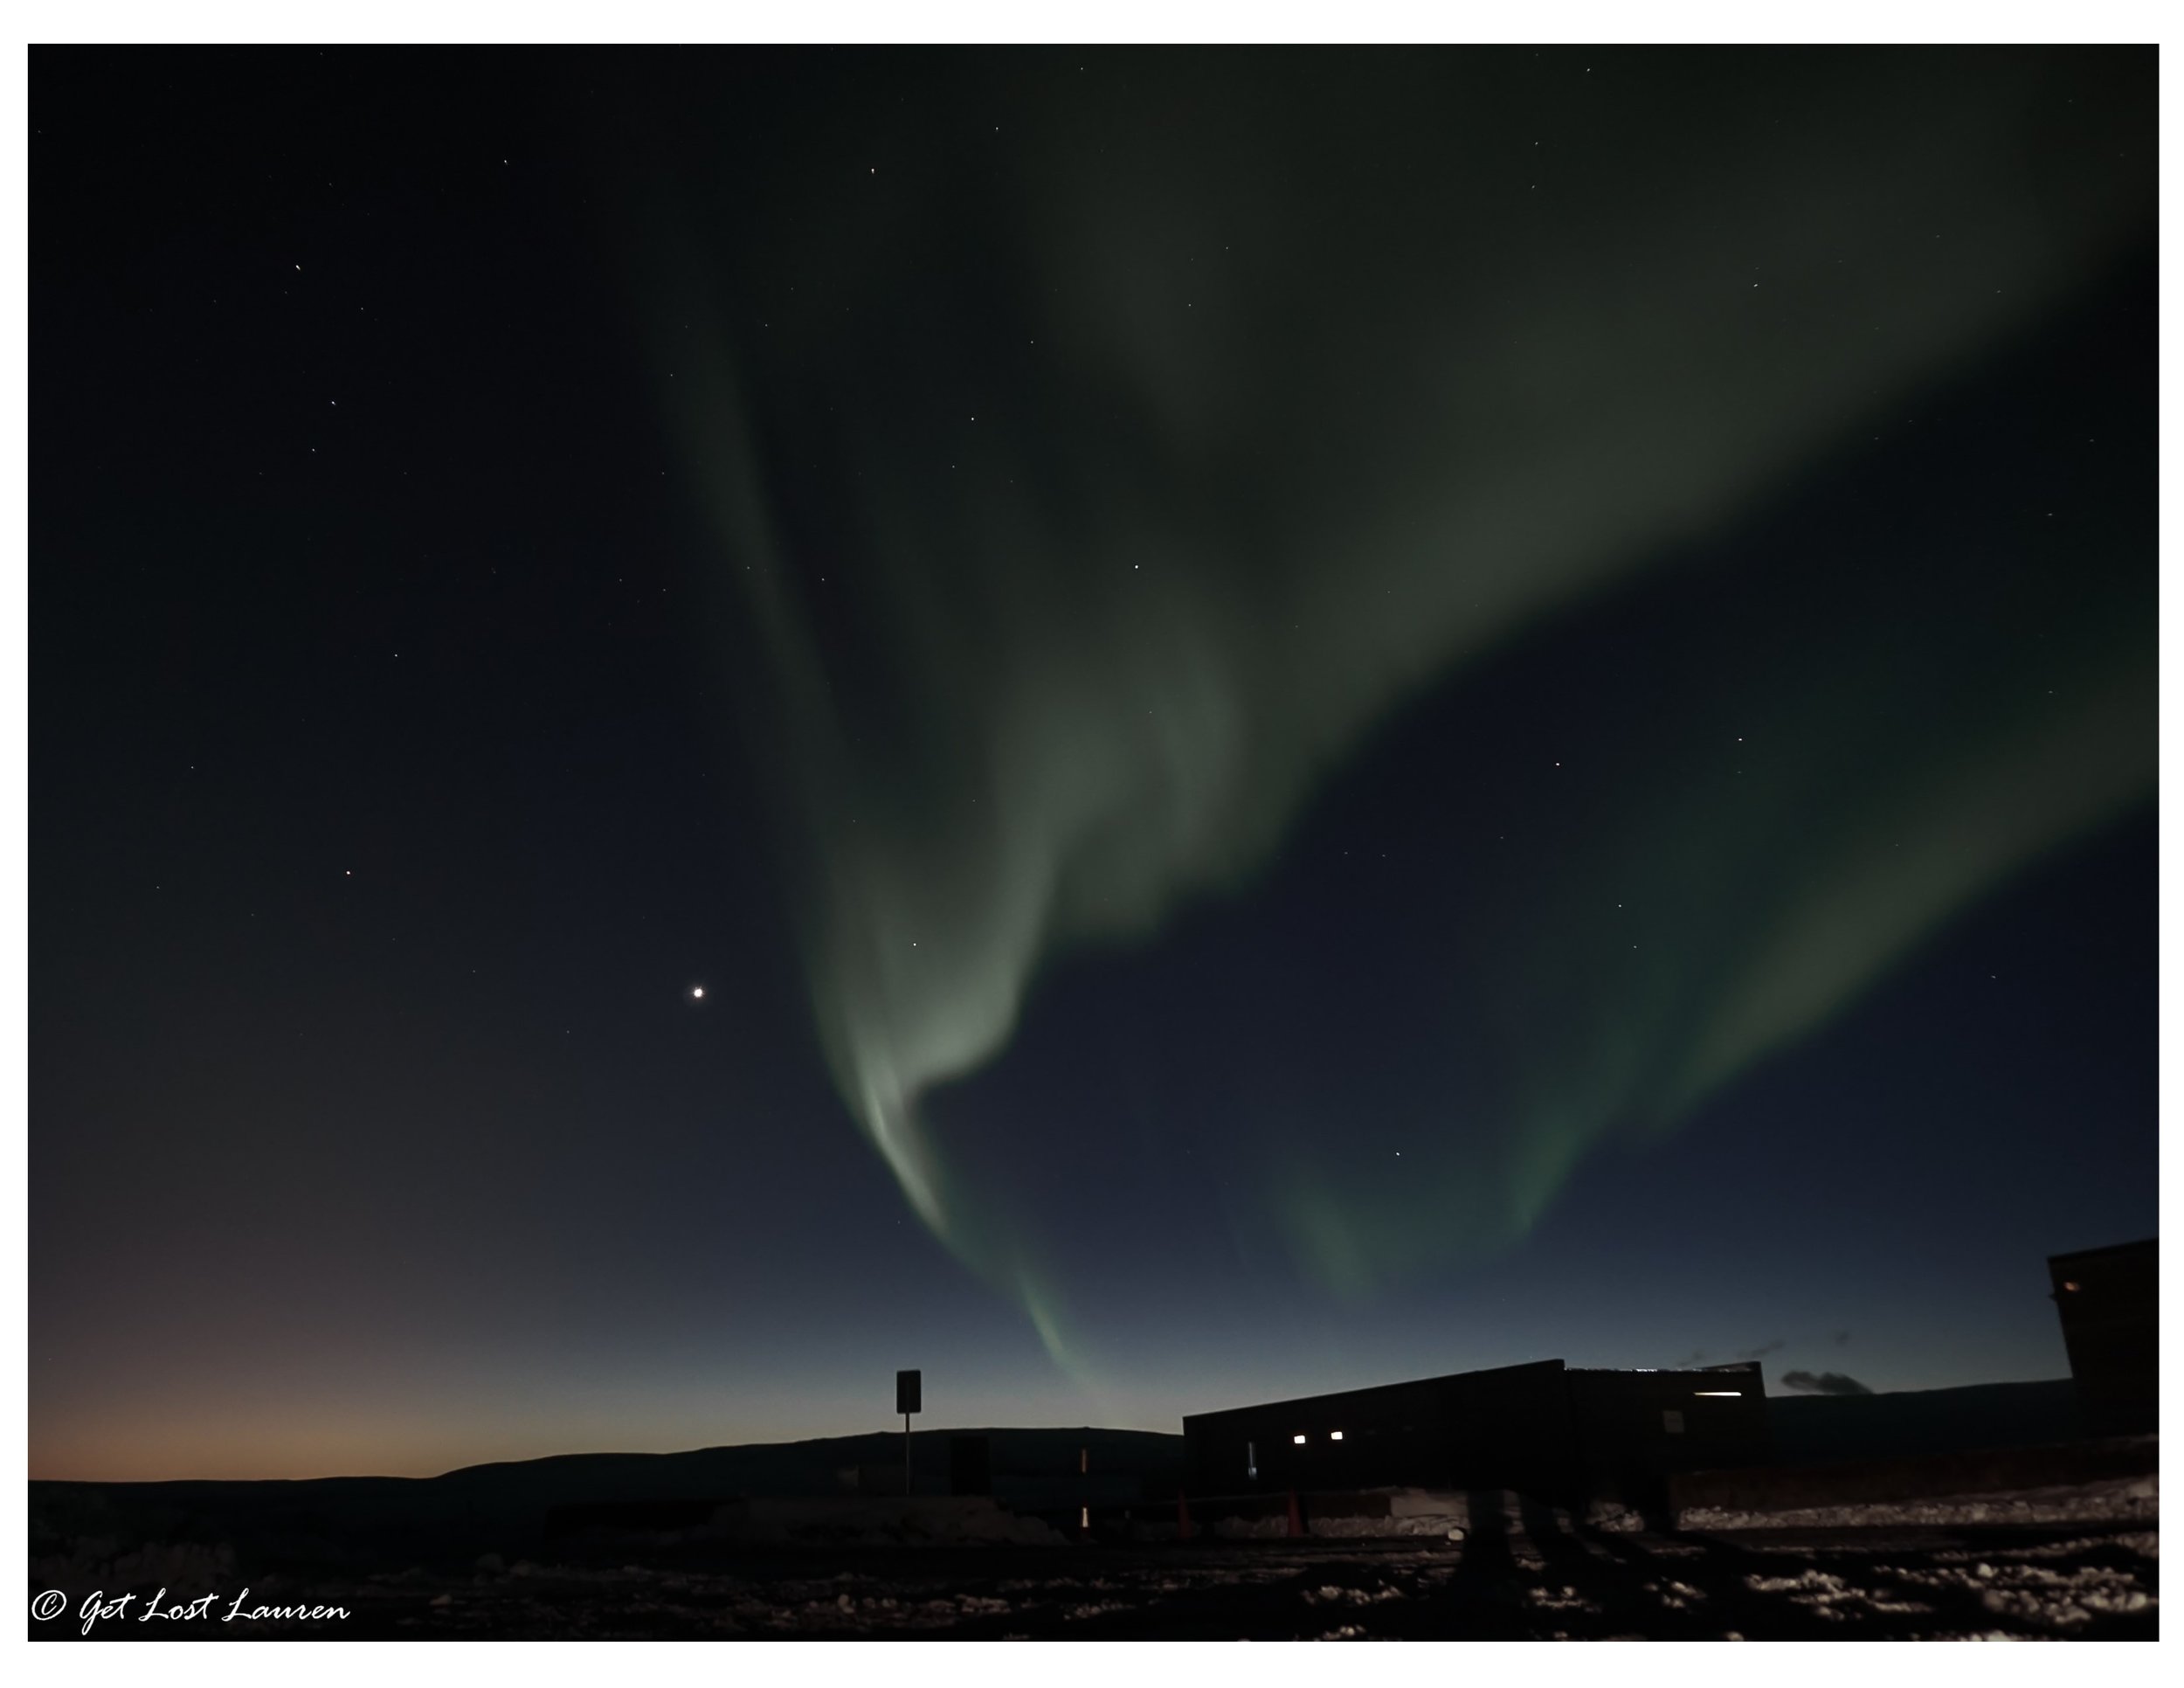
The Aurora appear brighter in pictures than to your eye. We weren’t sure what we were seeing when they first started – they looked like thin clouds. If in doubt, take a shot with your camera – you will be amazed to see bright green! I attempted to re-create what the eye sees versus camera below with Lightroom.
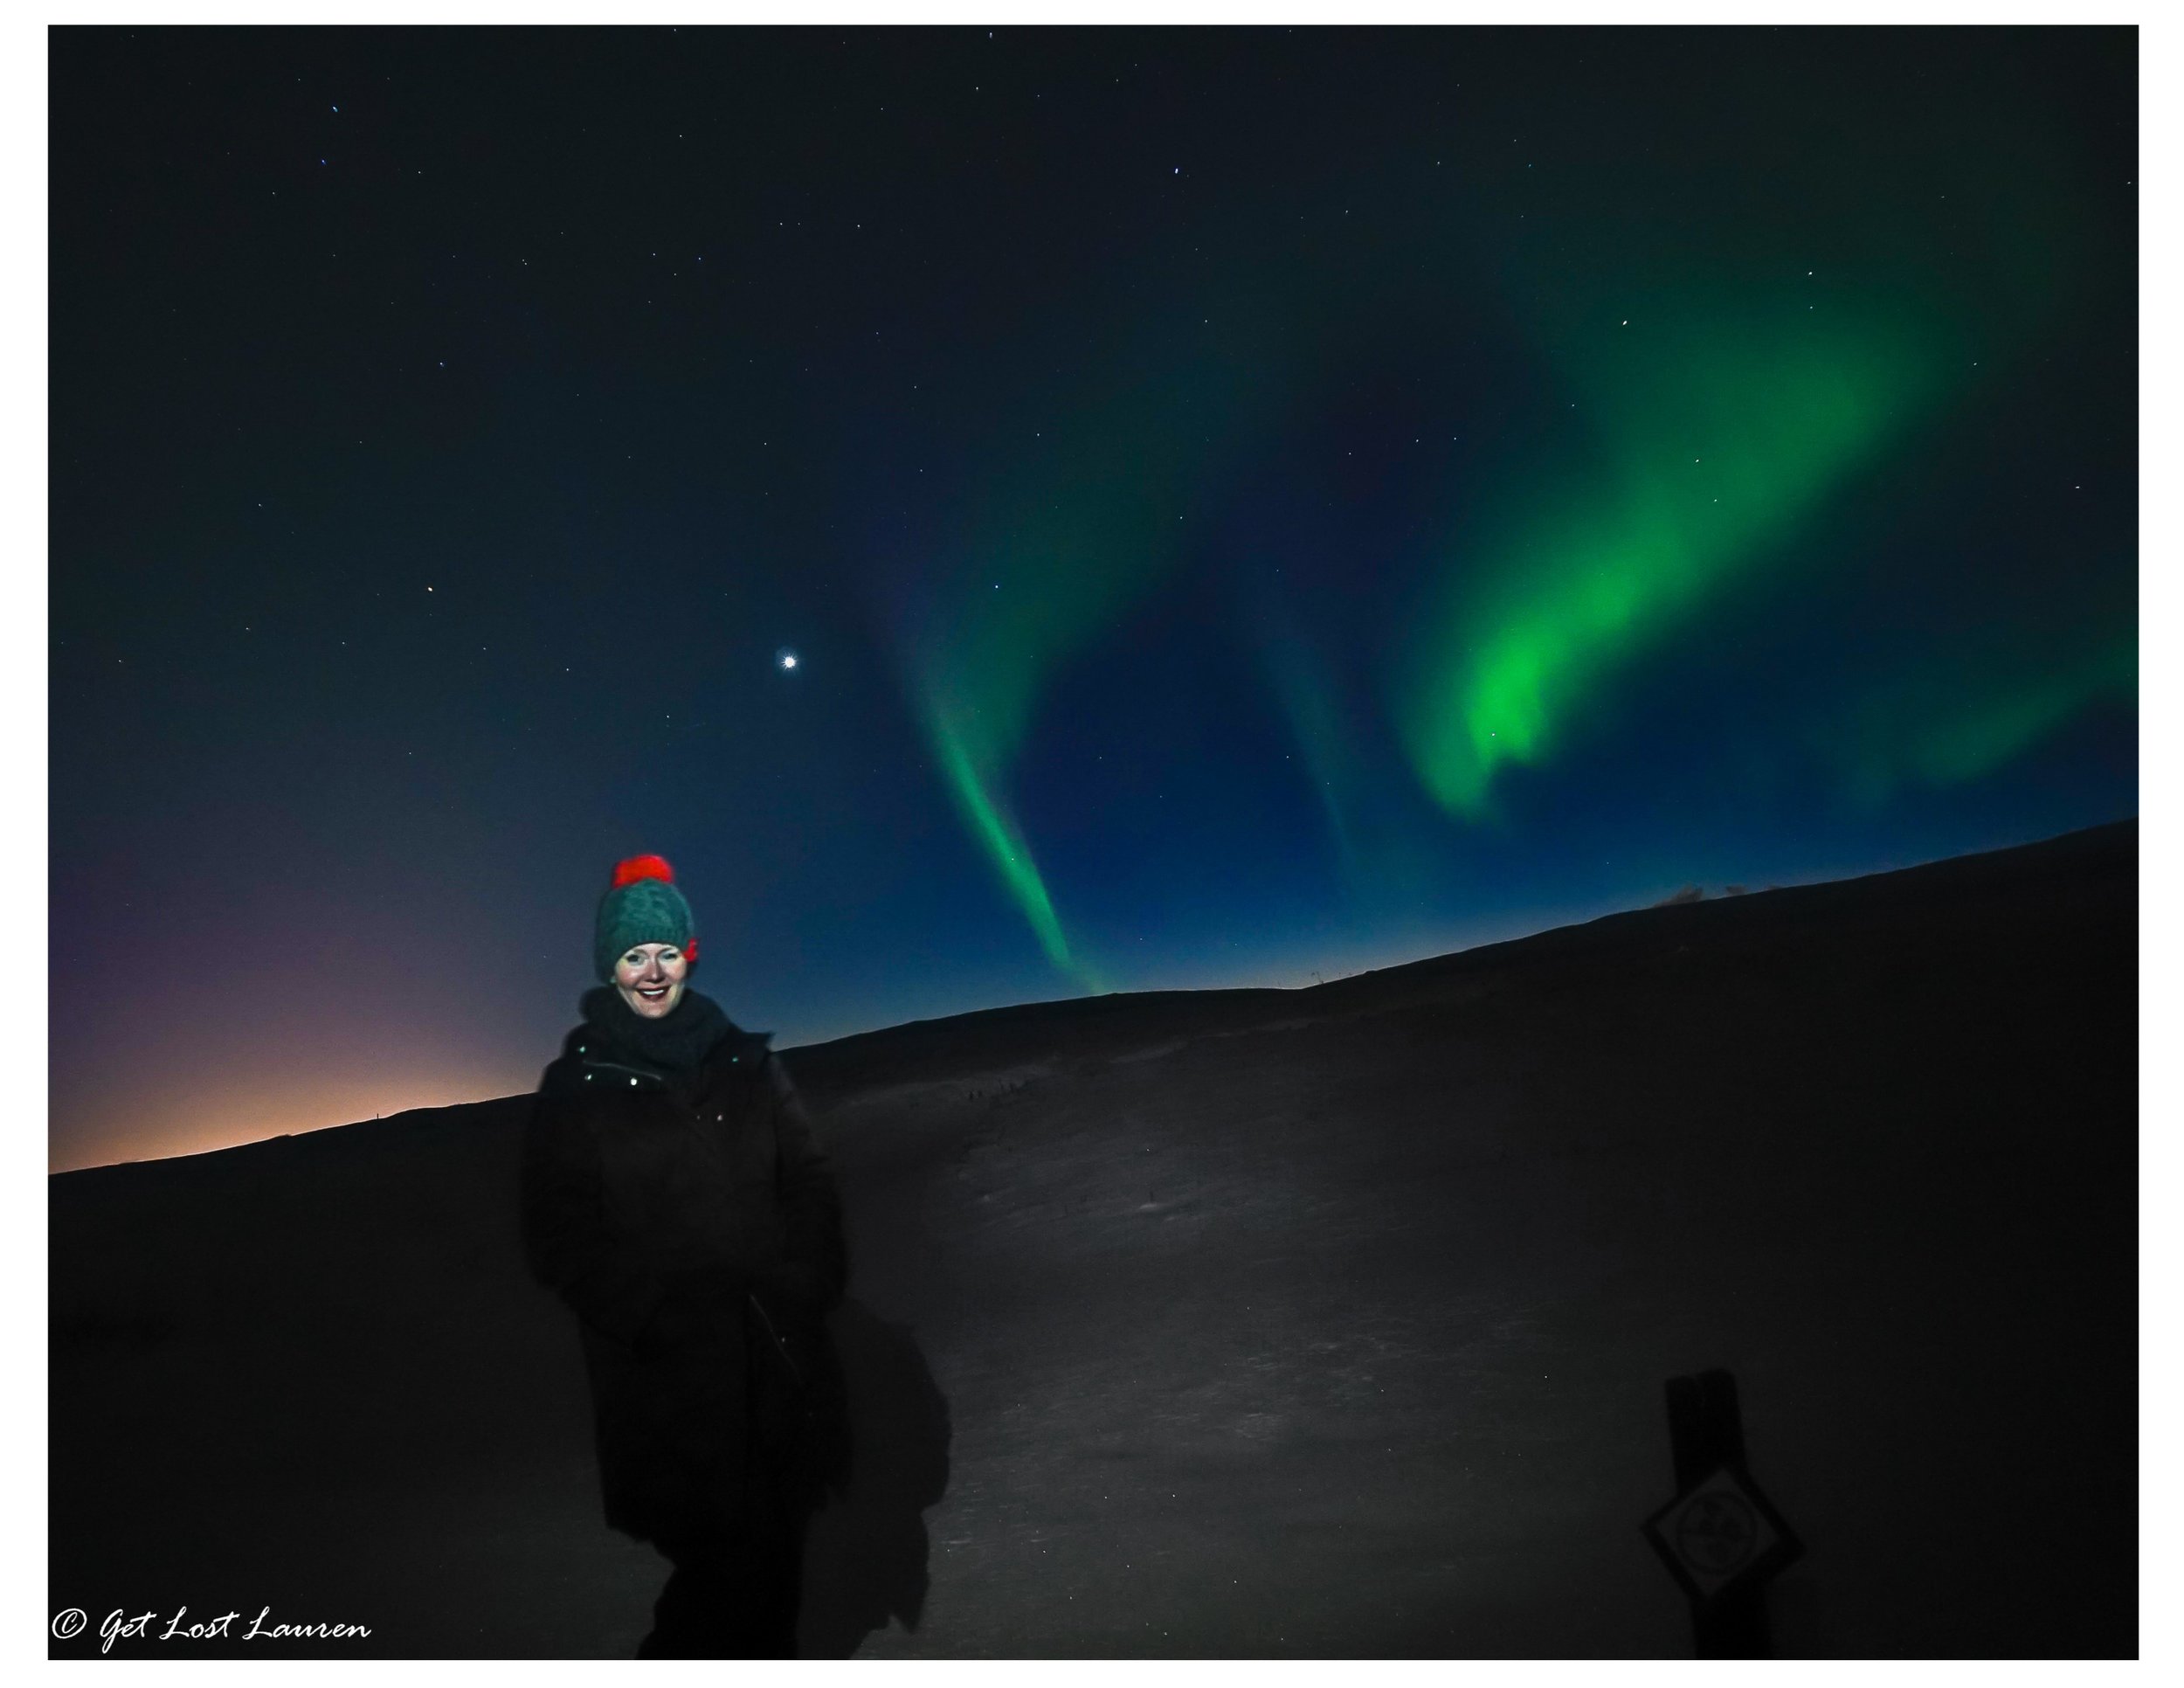
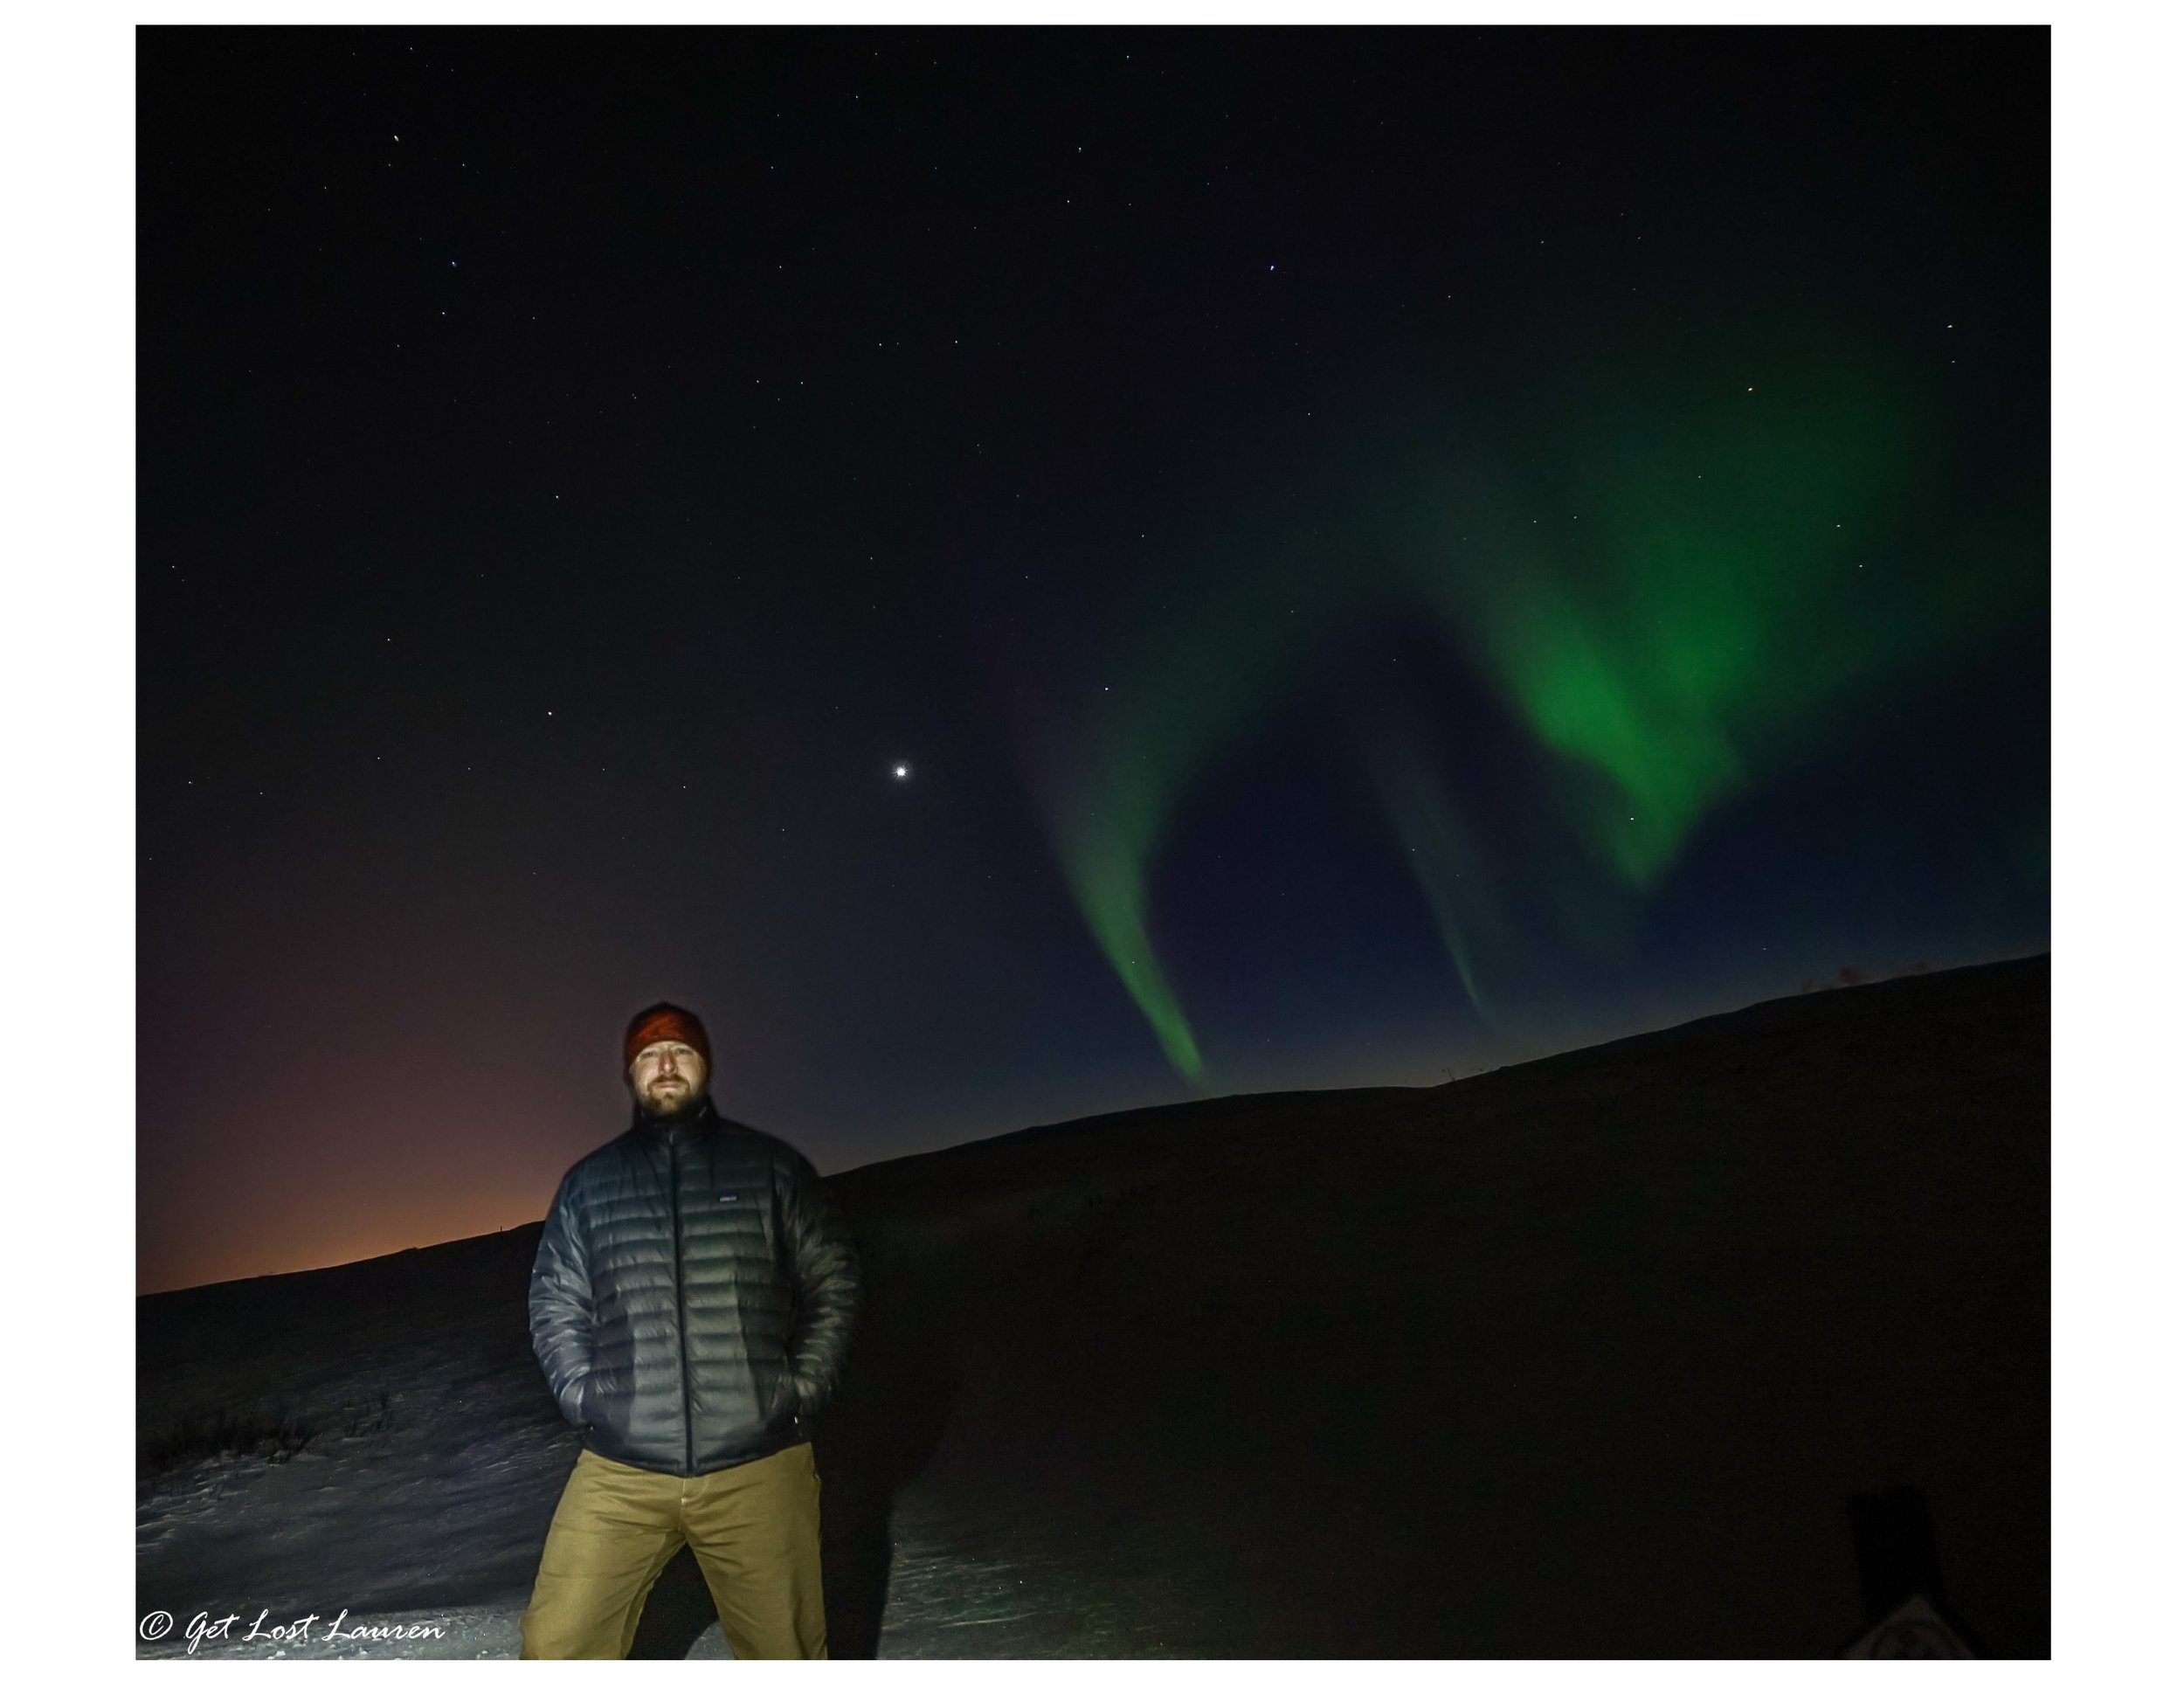
Selfies with the Aurora
The method is called “light painting”. You are “painting” your subject with a flashlight so it will show up in the picture. How it works:
- Get your subject in the frame. This works for anything you want to paint into the picture like a car or some other object.
- Shine your light on the person/thing at the upper most point (e.g., their head) and click button to take the picture. (If a car or oblong object, start at one end of it.)
- Quickly swipe the light down the person to the ground and turn it off. Do this very quickly. (Or, across the object to the side.)
- The person needs to stand still the whole time the camera is taking the picture – even when the light isn’t shining on them. You may want to set the shutter speed to a lower time like 4 seconds. Standing still in the cold for 30 seconds is not fun.
- Check the results. Person too dark? Swipe the flashlight a little more slowly. Blurry? Make sure they move as little as possible or make sure the camera is stable.
Where to go near Reykjavik
We only had time to go to Þingvellir National Park about a 40 minute drive from Reykjavik. Pay attention to the signs and don’t park in bus parking. We arrived to an empty parking lot, only for it to fill up with 20 buses carrying hordes of Northern Light seekers. We had to frogger our way out of around the buses – oops!
The foreground at Þingvellir visitor's parking. I never saw that barbed wire while there. Glad I didn't walk too much futher! Sony a5000. f4/ISO 800/4"
If you are on the Golden Circle road (36), check out Uthlid Iceland Cottages. Stop in the Rettin restaurant. Food is basic, but the only option for miles. Ask for permission to wander around their property to take pictures. There is a large mountain in the background and plenty of cabins that might make for an interesting shot. This would be about 2 hour drive from Reykjavik, or maybe stay in one of the cabins for the night!
Our rental apartment’s landlord also recommended:
This is a small coffee shop on the main road, there are probably some lights there but you can drive off the main road for 2-3 minutes to get to a darker place. This is a lake some 30 minutes out of the centre. You can park safely close to the road and it's probably a very scenic place to view the lights (I haven't been there by night though).
You might not have to go too far to see the Northern Lights. This was right off our apartment's balcony in Reykjavik! Sony a5000. f4/ISO 800/4"
Practice, practice, practice
Try all these things before you go on your trip. You don’t have to go far from your house, nor does it need to be pitch dark. Find a clear night and practice taking pictures of stars. Practice adjusting settings in the dark. You won’t be sorry for the experience when the giddiness sets in as the green lights start their show!
When it’s time to head back, don’t forget to return your camera to non-Aurora settings. Nothing is more disappointing to find a trip’s worth of blurry pictures because you forgot to turn stability/SteadyShot back on!
Let me know if this helped you! Got any other tips to add?


